How to Master the Glazing Technique in Oil Painting
Glazing is a technique that has been used by painters for centuries to create a sense of depth, luminosity, and richness in oil paintings. Unlike opaque painting methods, glazing involves applying thin, transparent layers of paint over a dried opaque base layer. Each layer modifies the color and light that passes through it, allowing the painter to build complex tonal variations and subtle shifts in hue. The process requires patience and a methodical approach, as each coat must be fully dry before the next is applied. Understanding the principles behind glazing can help artists expand their range of expression and achieve effects that are difficult to replicate with direct painting alone.
The underlying concept of glazing relies on optical mixing rather than physical blending of pigments. When light travels through a transparent layer, it is filtered by the pigment particles and then reflects off the layers beneath. The resulting color is a combination of the glaze color and the underlayer, perceived by the viewer as a unified tone. This method allows the painter to create a glow that seems to emanate from within the painting. Historically, artists such as Rembrandt and Vermeer employed glazes to enhance the atmospheric quality of their works. In contemporary practice, glazing remains a valuable tool for those seeking to add nuance and subtlety to their compositions.
Before beginning a glazing project, it is important to consider the overall workflow. Glazing is typically performed in stages, beginning with an opaque underpainting that establishes the value structure and basic color scheme. The glazes are then applied in successive thin coatings, each one modifying the appearance of the painting. The medium used for thinning the paint plays a crucial role in the transparency and drying time of each layer. The following sections outline the key steps and considerations involved in mastering this technique.
Understanding the Principles of Glazing
Successful glazing depends on a clear grasp of how transparency and light interact. Oil paint becomes transparent when the pigment particles are suspended in a medium that allows light to pass through. The degree of transparency varies between pigments; some are naturally more opaque and require heavier dilution to achieve a glazing effect. Artists often test each color by applying a thin wash over a dark and a light surface to observe its transparency. This practice helps in predicting how the glaze will affect the underlying layer.
An essential aspect of glazing is the concept of optical mixing. When a transparent color is applied over a dry lower layer, the eye combines the two colors rather than mixing them physically. This can produce vibrant, luminous effects because the light travels through the glaze and reflects off the underpainting. For example, a red glaze over a yellow underpainting can create a rich orange that appears more alive than a pre-mixed orange. The transparency of the glaze also allows the texture of the underpainting to remain visible, adding a dimension of surface interest.
Another important factor is the drying time of each layer. Oil paint dries through oxidation, and a glazed layer must be fully dry before the next one is applied. Depending on the thickness of the film, the ambient temperature, and the medium used, this can take anywhere from a few days to a week. Rushing the process may lead to the layers mixing physically, which reduces the intended transparency and can cause muddiness. A systematic approach to timing is therefore a crucial part of the technique.
Preparing the Surface and Underpainting
The foundation of a glazed painting is the initial opaque layer. This underpainting is typically executed with a limited palette, focusing on establishing the tonal values rather than final colors. A monochromatic or limited-color underpainting allows the subsequent glazes to provide the hue variations. The surface must be well prepared, smooth, and absorbent enough to hold the layers without causing the glaze to bead or slide. Many painters use a primed canvas or a panel that has been sanded lightly to create a uniform texture.
The choice of ground also affects the final appearance. A white or light-colored ground will reflect more light through the glazes, enhancing luminosity. A darker ground can be used to create deeper shadows but may require more layers to achieve the desired brightness. The underpainting is usually painted in opaque colors, such as titanium white, raw umber, or burnt sienna, depending on the intended color temperature. Once this layer is completely dry, it is ready to receive glazes.
It is advisable to ensure that the underpainting is fully cured before starting the glazing process. Incomplete drying can lead to cracking or delamination over time. Artists often wait at least a week between the underpainting and the first glaze, especially when using oil paints that contain linseed oil. A final check by lightly touching the surface with a clean finger can confirm that it is no longer tacky. Patience during this stage contributes to the long-term stability of the painting.
Selecting the Right Materials
The choice of materials significantly influences the behavior and outcome of glazes. Transparent pigments are ideal for glazing, and they are often labeled as such by manufacturers. Common transparent pigments include alizarin crimson, phthalo blue, and viridian green. Opaque pigments like cadmium red or yellow can be used if thinned heavily, but they may not produce the same luminosity. Some artists prefer to build a selection of paints specifically for glazing, keeping a set of transparent colors alongside their regular palette.
The medium used to mix the paint is equally important. Traditional glazing mediums consist of a mixture of linseed oil, turpentine or odorless mineral spirits, and sometimes a resin such as damar. These mediums help to thin the paint while maintaining its film strength and gloss. Alternatively, commercial glazing mediums are available that offer consistent drying times and flow. For artists who prefer a slower drying medium, stand oil is a common choice. Art Spectrum, for instance, offers a range of oils and mediums that can be incorporated into a glazing workflow, though many brands provide suitable options.
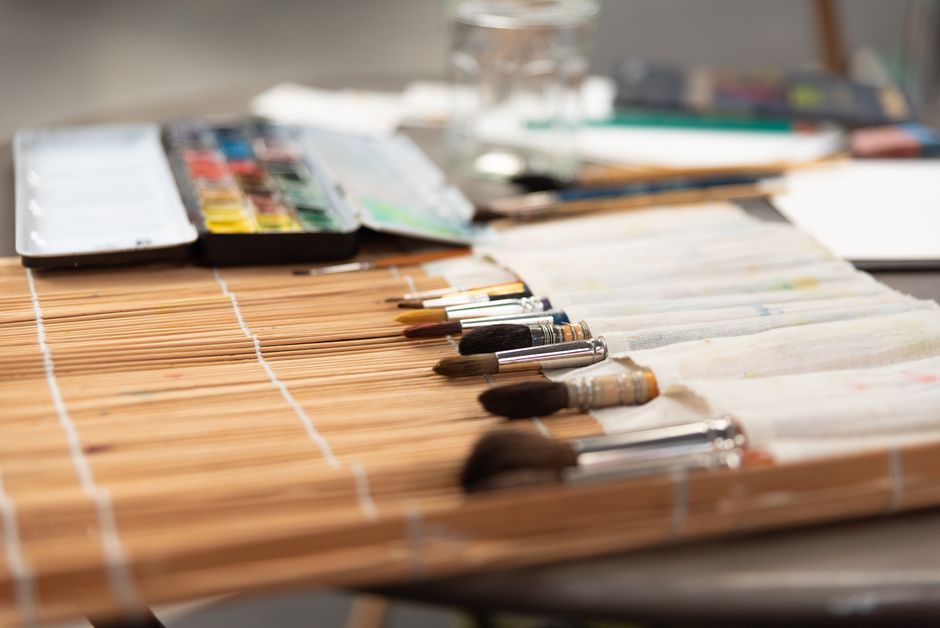
Brushes for glazing should be soft and capable of holding a thin paint film without leaving streaks. Flat or filbert brushes in synthetic or natural bristle can work well, but the priority is to apply the glaze evenly. A separate brush for each glaze color helps avoid contamination. Clean water or solvent should be used to rinse brushes between applications, and the brushes should be thoroughly dried before being used again. Materials preparation also includes setting up a well-ventilated workspace, as solvents and oil mediums release fumes.
The Glazing Process
Applying a glaze requires a steady hand and a controlled approach. The process begins by mixing a small amount of transparent paint with the chosen medium until the mixture is fluid but not overly runny. A common ratio is one part paint to three or four parts medium, but this can vary depending on the desired transparency. The mixture is then applied in a thin, even layer using broad, sweeping strokes. The goal is to cover the area without leaving puddles or thick patches that may cause uneven drying.
After the glaze is applied, it is useful to blend the edges slightly to avoid harsh lines. A dry brush or a clean, soft cloth can be used to soften transitions between glazed and unglazed areas. The painting is then set aside to dry in a dust-free environment. Once the glaze is completely dry, the artist can evaluate the effect and decide whether additional layers are needed. Multiple glazes can be built up to deepen colors or adjust the overall tone.
Each glaze layer modifies the appearance of the painting incrementally. For example, a series of blue glazes over a white underpainting can produce a range of cool blues, while adding a thin yellow glaze over the blue can create a green area. Artists often test the glaze on a separate piece of paper before applying it to the main work to check the color and transparency. Keeping a record of the sequence of glazes and their ratios can be helpful for replicating effects or troubleshooting issues.
Troubleshooting and Considerations
Even with careful preparation, certain challenges can arise during glazing. One common issue is the glaze appearing uneven or streaky, which may result from inconsistent application or a surface that is too absorbent. To minimize this, the surface can be prepared with a thin layer of medium before glazing, or the artist can use a medium that improves leveling. Another problem is the development of a matte or dull finish after drying. This can often be corrected by adding a final varnish layer after all glazes are fully cured, though the varnish itself requires separate consideration.
Environmental conditions such as humidity and temperature can affect drying times and the final appearance. In very humid environments, glazes may take longer to dry and could develop a cloudy look. Using a dehumidifier or working in a climate-controlled space can help maintain consistency. Additionally, some pigments are more prone to fading over time if exposed to strong light. It is advisable to use pigments with high lightfastness ratings, especially for paintings intended for long-term display.
The integration of glazing with other painting techniques can also pose challenges. When combining direct painting with glazes, the opaque passages must be allowed to dry completely before glazing over them. If the opaque layer is still wet, the glaze will mix with it, defeating the purpose of transparency. Conversely, painting opaquely over a glaze may disturb the underlying layers. A clear understanding of the drying status of each part of the painting is necessary to avoid unintended mixing. Many artists develop a systematic routine where they alternate between glazing and opaque passages in a planned sequence.
Ultimately, mastering the glazing technique involves practice and observation. Each painting session offers opportunities to refine the application methods and better understand the behavior of materials. By approaching glazing as a process of gradual refinement rather than a quick fix, artists can develop the control needed to produce works with a distinctive depth and radiance. The technique remains a versatile tool in oil painting, adaptable to a wide range of styles and subject matter.