A Beginner’s Guide to Acrylic Painting on Canvas
Acrylic paint is a versatile medium that has gained widespread popularity among artists of all skill levels. For beginners, it offers a forgiving and accessible introduction to painting on canvas. Unlike oils, acrylics are water-soluble and dry relatively quickly, allowing for rapid experimentation and correction. This guide outlines the fundamental concepts and approaches that can help those new to acrylic painting build a solid foundation. The focus is on understanding materials, techniques, and the unique characteristics of acrylics, so that each创作者 can develop their own process over time.
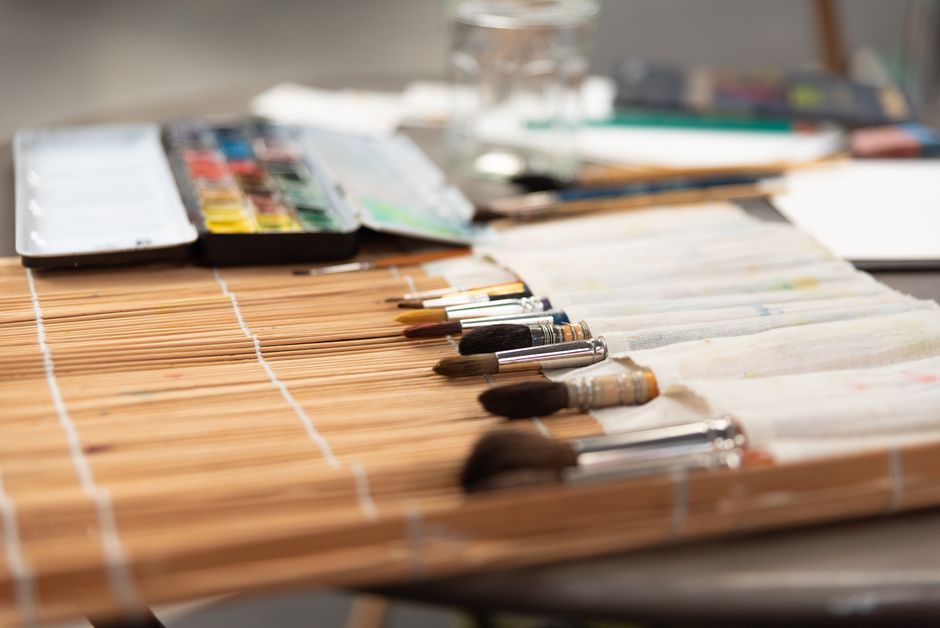
Before beginning, it is helpful to gather a few basic supplies. A stretched canvas primed with gesso provides a suitable surface for acrylics. Synthetic brushes in a range of shapes—flat, round, and filbert—are recommended because they hold paint well and clean easily. A palette, a container for water, and a rag for wiping brushes complete the starter kit. Paints can be purchased as a set of basic colors, and many beginners choose to start with a limited palette to explore mixing. The goal is not to acquire every tool at once, but to have enough to practice the core techniques described in this guide.
Each painting session offers an opportunity to observe how the paint behaves under different conditions. Factors such as room temperature, humidity, and the thickness of the paint layer influence drying times and workability. By approaching these variables with curiosity rather than expectation, beginners can learn to adapt their methods. The following sections explore key aspects of acrylic painting—layering, blending, and drying times—in a practical, process-oriented manner.
Understanding the Properties of Acrylic Paint
Acrylic paint consists of pigment suspended in an acrylic polymer emulsion. When water evaporates, the polymer particles fuse into a durable, flexible film. This chemistry gives acrylics their characteristic fast drying time and water resistance once dry. The opacity of a color depends on the pigment concentration: some colors are naturally opaque, while others are more transparent. Beginners may notice that lighter colors often require more coats to cover a dark background, while darker colors may cover more easily. Understanding these properties helps in planning layers and anticipating how colors will interact.
The consistency of acrylic paint can be altered by adding water or acrylic mediums. Adding water makes the paint behave more like watercolor, with increased transparency and flow. However, adding too much water—generally more than 30 percent—can weaken the binder, making the paint less adhesive and more prone to cracking. Mediums such as gloss, matte, or gel medium can modify texture, sheen, and body without reducing the binder content. For layering, a medium can also extend the drying time, giving the artist more opportunity to blend or manipulate the paint. Experimenting with different dilution levels is a valuable way to learn how each color responds.
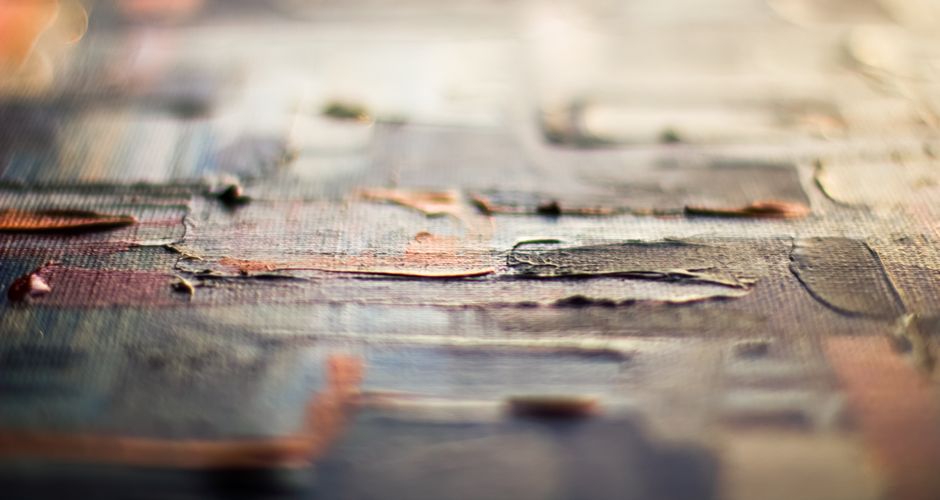
Another important characteristic is the paint’s drying rate. Thin layers can dry within minutes, while thicker impasto layers may take hours. The fast drying of acrylics is often cited as both an advantage and a challenge. It allows for quickly building up layers, but it can also make blending or smooth transitions more demanding. Rather than fighting this property, beginners can adapt by working in sections, spraying the palette with water, or using a stay-wet palette to keep paint workable longer. Each of these approaches is a practical method to manage the medium’s natural tendency to dry.
Preparing the Canvas and Workspace
A properly prepared canvas provides a reliable foundation for acrylic painting. Most commercially available stretched canvases are already primed with gesso, but it is worth verifying this before beginning. If the canvas feels porous or looks grey, applying one or two thin coats of gesso can create a smoother, less absorbent surface. Gesso can be applied with a wide brush or a foam roller, and it should be allowed to dry completely between coats. This step helps the paint adhere evenly and prevents the canvas from soaking up too much moisture, which can affect color intensity.
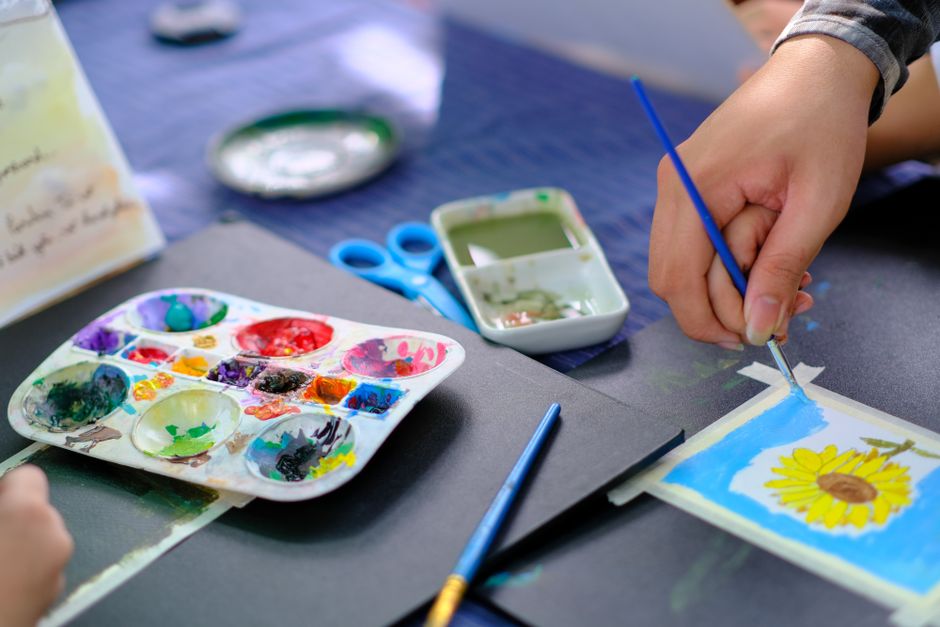
Setting up the workspace involves more than just arranging supplies. Good lighting is essential to see values and colors accurately. Natural daylight or a daylight-balanced lamp is recommended. The painting surface should be at a comfortable height, ideally on an easel that allows the canvas to be tilted. Many beginners find that working on a flat table also works well, though it may change the angle of brushstrokes. Having a large palette with ample mixing space allows for blending colors without contamination. Some artists prefer a glass or disposable palette, while others use a sta-wet palette that keeps paint moist. The choice depends on personal work habits and the length of painting sessions.
Water containers should be replenished frequently to avoid muddy colors. Using two containers—one for cleaning brushes and one for adding fresh water to paint—can help maintain pigment purity. A cotton rag or paper towel is useful for blotting brushes between colors. These small organizational steps reduce frustration and allow the artist to focus on the painting process. As experience grows, the setup may evolve, but a thoughtful arrangement from the beginning supports a smoother learning curve.
Basic Techniques: Layering and Blending
Layering is a foundational technique in acrylic painting. It involves applying one color over another after the previous layer has dried. This method is particularly suited to acrylics because the fast drying time means that new layers can be added quickly without disturbing the underpainting. For a simple layering exercise, a beginner might start with a solid background color, let it dry, then paint shapes or forms on top. The opacity of the top layer determines how much of the background shows through. Transparent layers, often called glazes, can create depth and luminosity when used over lighter colors.
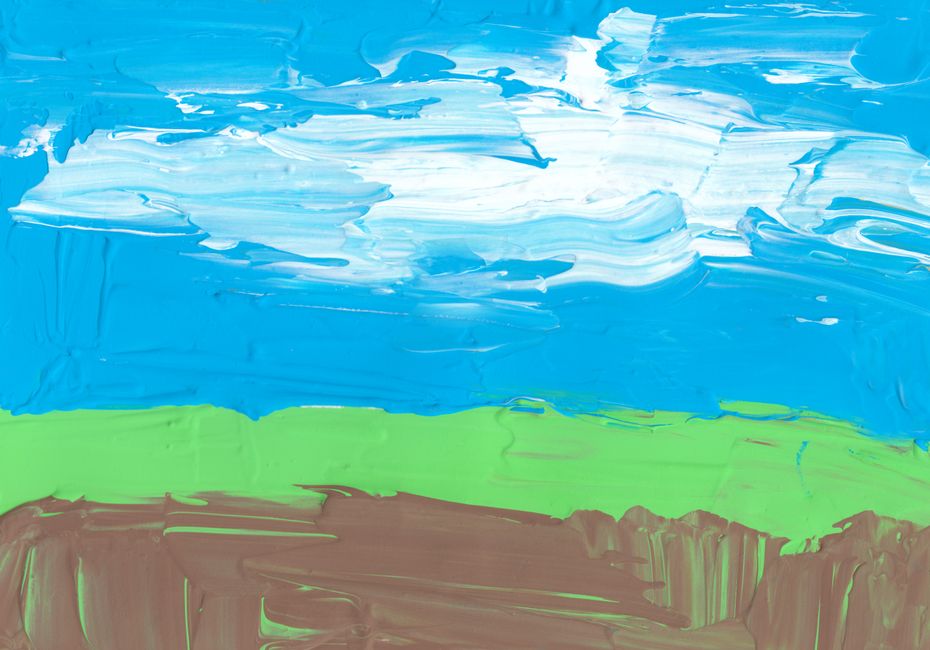
Blending, on the other hand, aims to create smooth transitions between adjacent colors. Because acrylics dry quickly, blending on the canvas requires a slightly different approach than with oils. One method is to apply two colors side by side while both are still wet, then use a clean, dry brush or a soft sponge to gently stipple or drag the boundary between them. This works best on small areas or when the paint has been extended with a retarder medium. Another approach is to blend on the palette itself, mixing a gradient of colors before applying them to the canvas. For larger areas, such as skies or backgrounds, feathering the edge of a wet stroke into a dry area can create soft transitions.
Both techniques rely on an understanding of paint consistency and brushwork. For layering, thinner washes tend to adhere better to previous layers, while thicker paint may require a medium to prevent cracking. For blending, maintaining a consistent moisture level in the paint is helpful. Beginners are encouraged to practice these techniques on scrap canvas or paper before using them in a finished piece. Observing how different brush bristles, levels of dilution, and drying times affect the result builds a practical knowledge that can be applied in future projects.
Managing Drying Times Strategically
The drying time of acrylic paint is influenced by several factors. The thickness of the application is the most obvious: a thin wash might dry in five minutes, while heavy impasto may take an hour or more. Temperature and humidity also play significant roles. Warmer, drier environments accelerate drying, while cooler, more humid conditions slow it down. Airflow, such as from a fan or ventilation, can further speed up the process. Beginners can use these variables to their advantage by adjusting the workspace or the paint mixture according to their needs.
When a longer working time is desired, several options are available. Acrylic retarders slow the evaporation of water, extending the open time of the paint. They are typically added in small amounts—usually 5 to 10 percent of the paint volume. Using a spray bottle to mist the palette and canvas periodically also keeps the paint from skinning over. Some artists place a damp sponge inside a sealed palette to create a humid environment. For blending large areas, working on a dampened canvas can help keep the paint wet longer. These techniques do not guarantee a specific outcome, but they provide the artist with more control over the timing of their strokes.
Conversely, there are situations where fast drying is advantageous. When building multiple layers in a single session, quick drying allows for uninterrupted progress. For techniques like dry brushing—where a relatively dry brush is loaded with paint and dragged over a textured surface—the paint must be thick and fast-drying to create the desired effect. Learning to read the paint’s behavior during a session helps artists decide when to speed up or slow down the process. Over time, this awareness becomes second nature.
Approaching Color Mixing and Application
Color mixing is a skill that develops with practice. Starting with a limited palette of two or three primaries plus white can teach a beginner a great deal about color relationships. For example, mixing a warm red and a cool blue can produce a range of violets and purples, while adding yellow creates various greens and oranges. The opacity and tinting strength of each pigment affect the resulting color. A small amount of a strong pigment like phthalo blue can dominate a mixture, so adding it gradually is advisable. Mixing on the palette rather than directly on the canvas allows for more control and reduces waste.
Application methods also influence the final appearance. A flat brush can produce sharp edges and broad strokes, while a round brush is suited for lines and details. The direction of strokes, the angle of the brush, and the pressure applied all contribute to texture. Stippling, scumbling, and sponge application are additional techniques that can be explored. Each method yields a different surface quality, and beginners may find it helpful to try several on a single practice canvas. The goal is not to master all techniques at once, but to become familiar with how paint responds to different tools and movements.
When applying paint to canvas, it is common to begin with larger, simpler shapes and gradually refine details. This approach, often called “general to specific,” allows the artist to establish composition and value relationships before moving into finer work. Many artists find it useful to block in the main areas of light and shadow first, then adjust colors and edges in subsequent layers. Because acrylics are opaque when thick, corrections can be made by painting over unwanted areas. This flexibility is one of the reasons acrylics are well-suited for exploratory learning.
Common Challenges and Recommended Approaches
Every beginner encounters challenges, and addressing them is part of the learning process. One frequent issue is paint that dries too quickly, resulting in visible brush strokes or uneven coverage. When this happens, applying thinner layers or using a retarder medium can help. Another challenge is achieving smooth gradients, especially in large areas. A practical approach is to work in sections, blending each segment before moving to the next. If the paint begins to dry while blending, a light mist of water or a touch of medium can reactivate the surface temporarily, though this method works best for thin layers.
Color muddying occurs when mixtures become overly mixed or when too many colors are combined. To reduce this risk, it can be helpful to limit the palette and clean brushes thoroughly between colors. Using separate mixing wells for different value groups also prevents contamination. When a color appears dull on the canvas, it may be because the underpainting is too absorbent. Applying an intermediate layer or a thin coat of white gesso under transparent colors can brighten them.
Lastly, beginners sometimes feel uncertain about when a painting is finished. Rather than aiming for perfection, it can be useful to set a specific goal for each session—such as practicing a technique or completing a small study. Over time, repeated practice builds confidence and a personal sense of completion. The most important factor is consistent exploration, not immediate mastery.